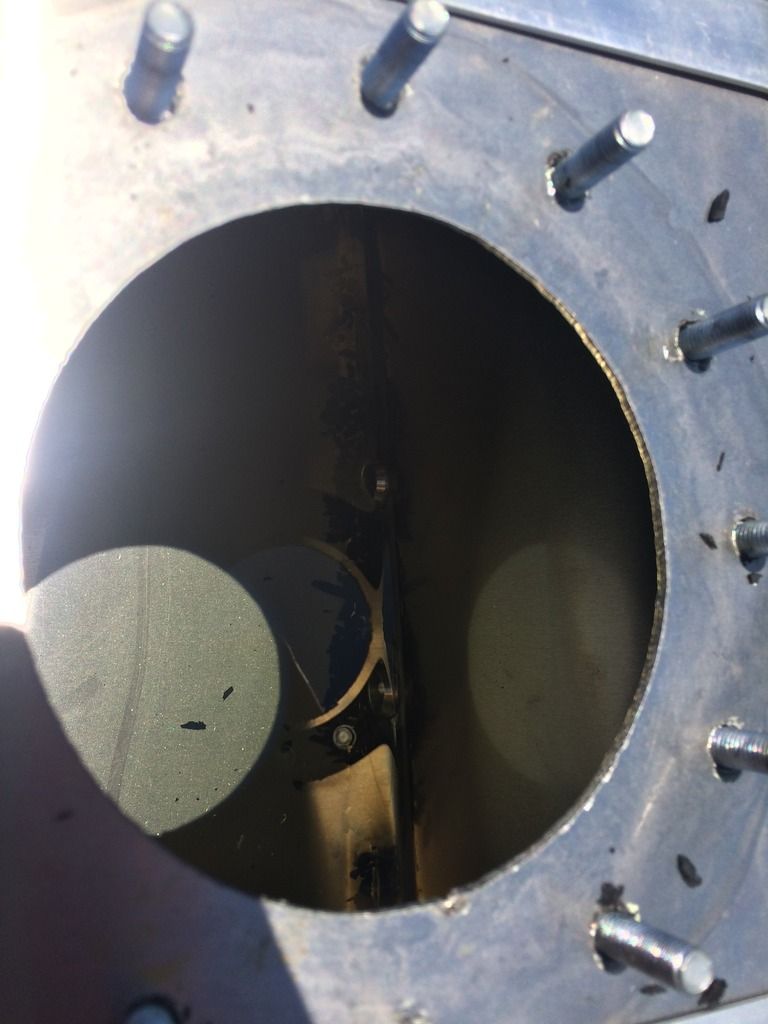
Gen III Aux Tank Install
Posted: Sat Apr 29, 2017 7:53 pm
Back earlier in the year, Joe the tool maker posted up looking for any interest in his tag along aux tanks. I had a real interest in one of them because I like the way they look on the feej, but I couldn't justify that kind of coin for one right now. Still, I was looking for options for a tank since yfo is right around the corner, and I'm likely going to try some iba type stuff on the way out and back. I saw some pretty neat adaptations of racing fuel cells that were fitted onto other's feej's and thought maybe that might be a doable way to go for me.
So the hunt for a tank begins. I found a decent deal on a new RCI 4 gallon tank on ebay, they had 5 gallon ones also, but because of the Givi top case back there in the way, I decided that my butt might appreciate the added 2 inches of room on long hauls, and that 4 gallons should be plenty of safety margin in most cases. That buy is where the bargain ended though. I spent a lot more for the fittings, valves, quick disconnect, and various stuff for brackets.
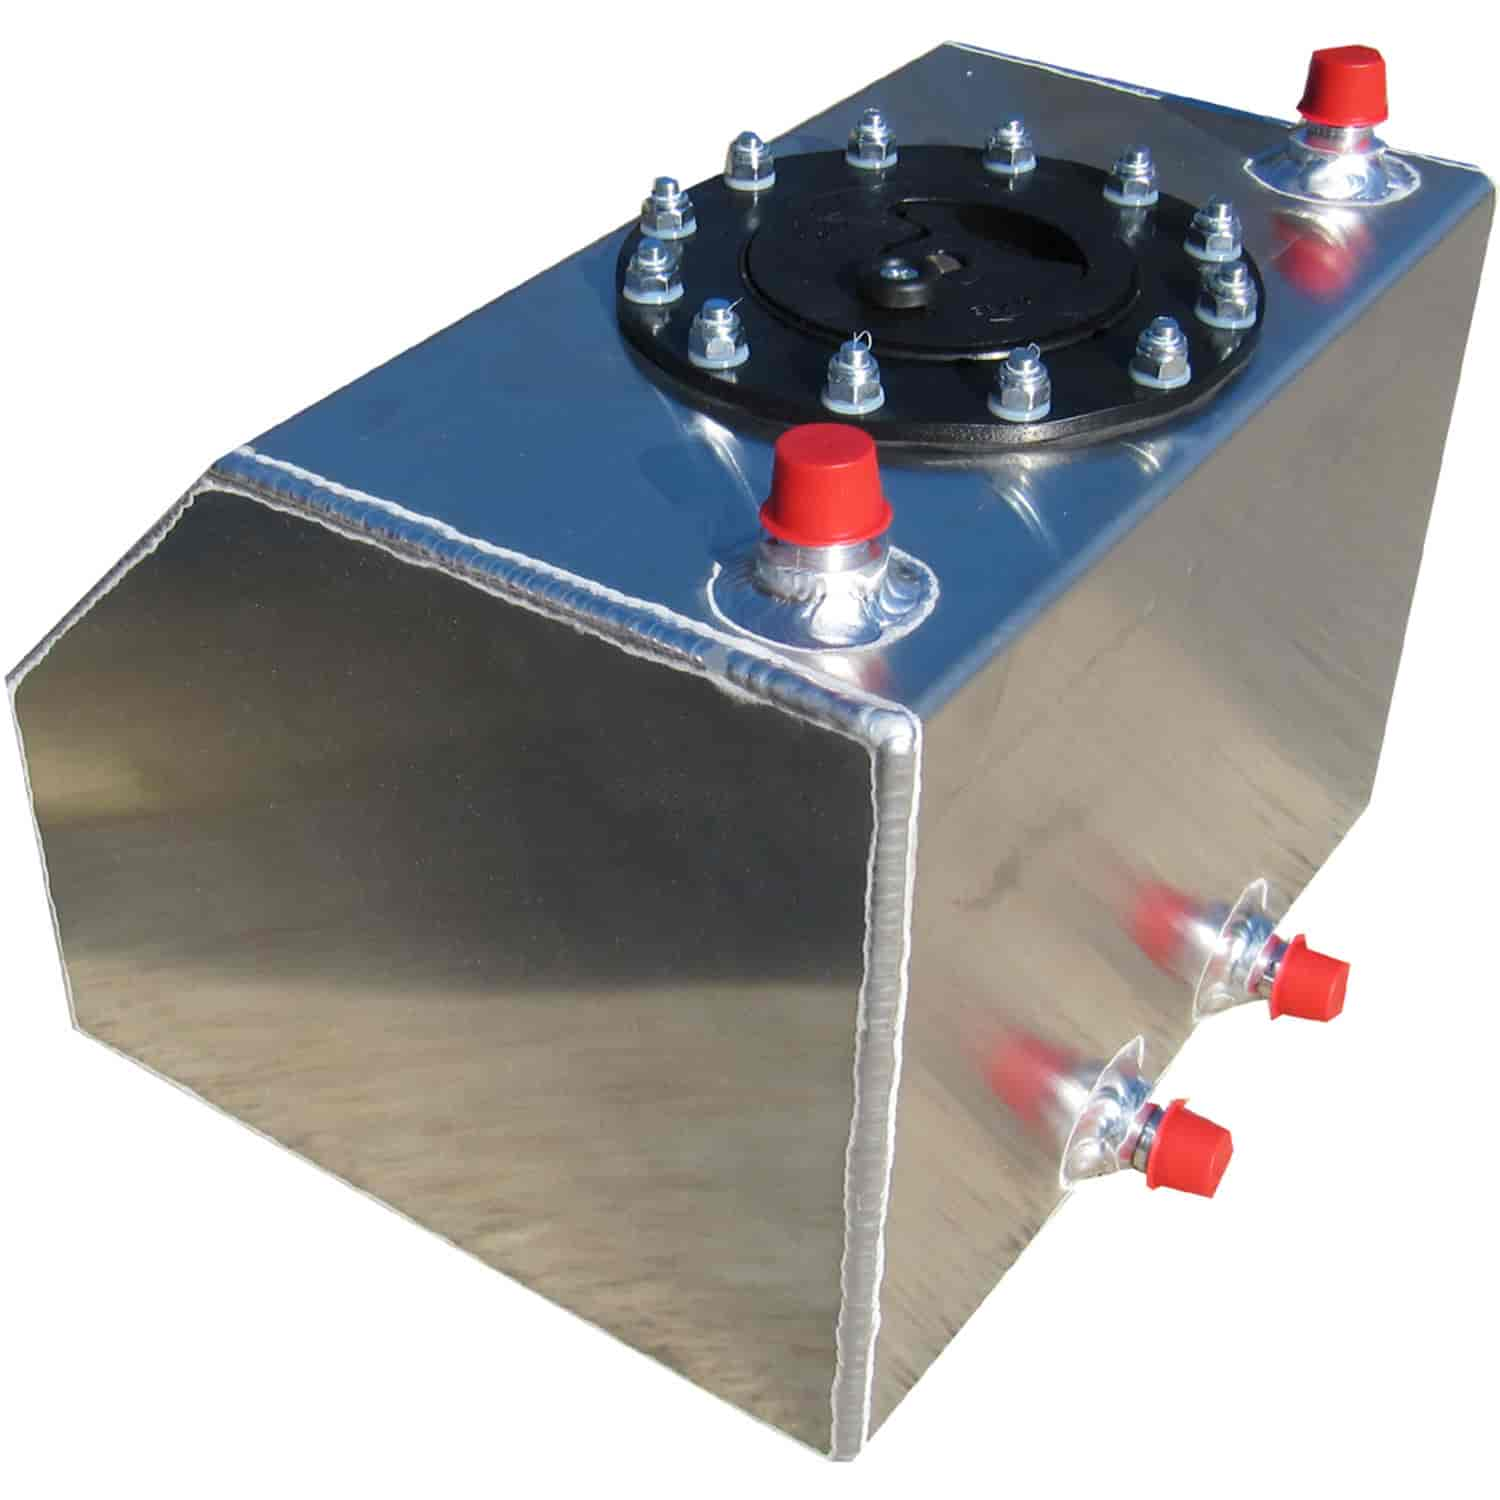
This is the tank I chose. It has 3/8" JIC connections, which I ended up tapping to npt pipe threads because the fittings hug in tighter and are cheaper
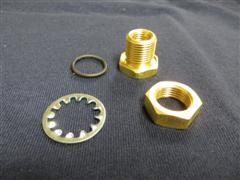
I had quite a time looking for the type of bulkhead fitting I wanted to hook up to the main tank with. A forum member mentioned Maple Farkles website, and they had the perfect fitting at a reasonable price.
They also had a quick disconnect that was tried and proven and quality made at a reasonable price. It was a little bulkier than I was looking for, but in the end I'm thinking it'll work out just fine.

I used jic hydraulic caps to seal the -6an ports, then drilled and tapped 1/4" npt in two of them, one for the fuel line, and one on top for the vent.

First step was to empty the tank, I drained as much fuel out as I could, then flushed the tank out with water a few times.

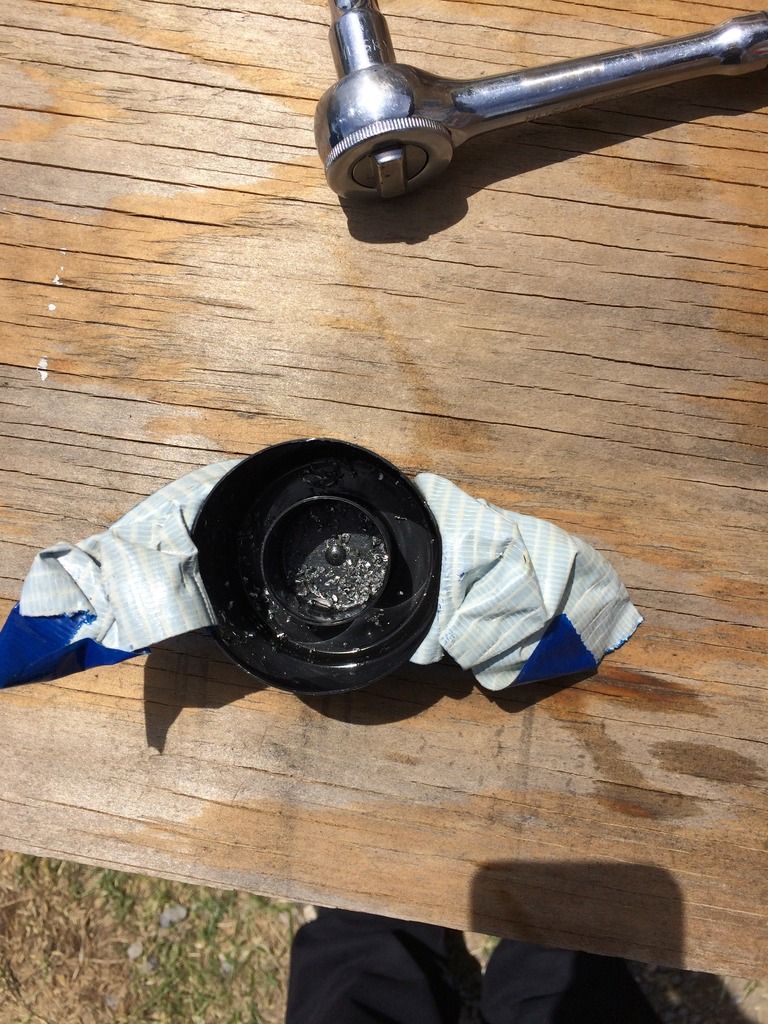
Then comes the scary part, penetrating the tank. I planned to tap the tank and have the line exit under the right rear of the tank and route the fuel line under the seats. In the end, I could've moved the hole a little more rearward to allow more room for the pump's fuel line, but it worked out ok. No going back now.
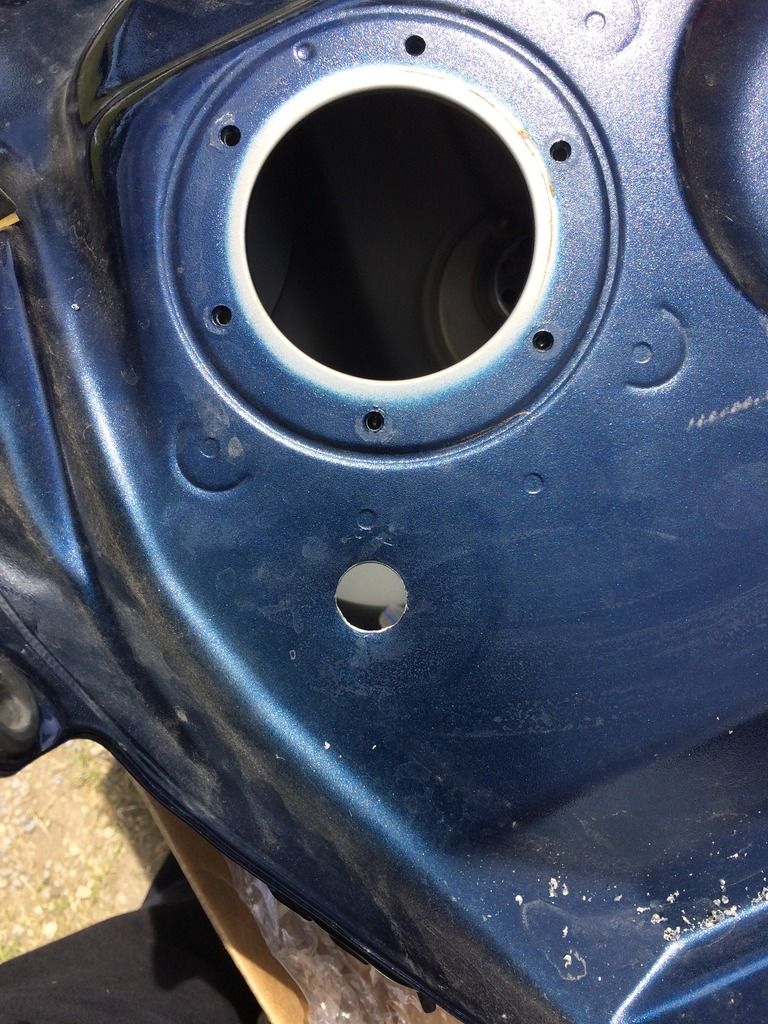
I used the same trick others have used by taping a spray can lid inside the tank to catch the shavings.
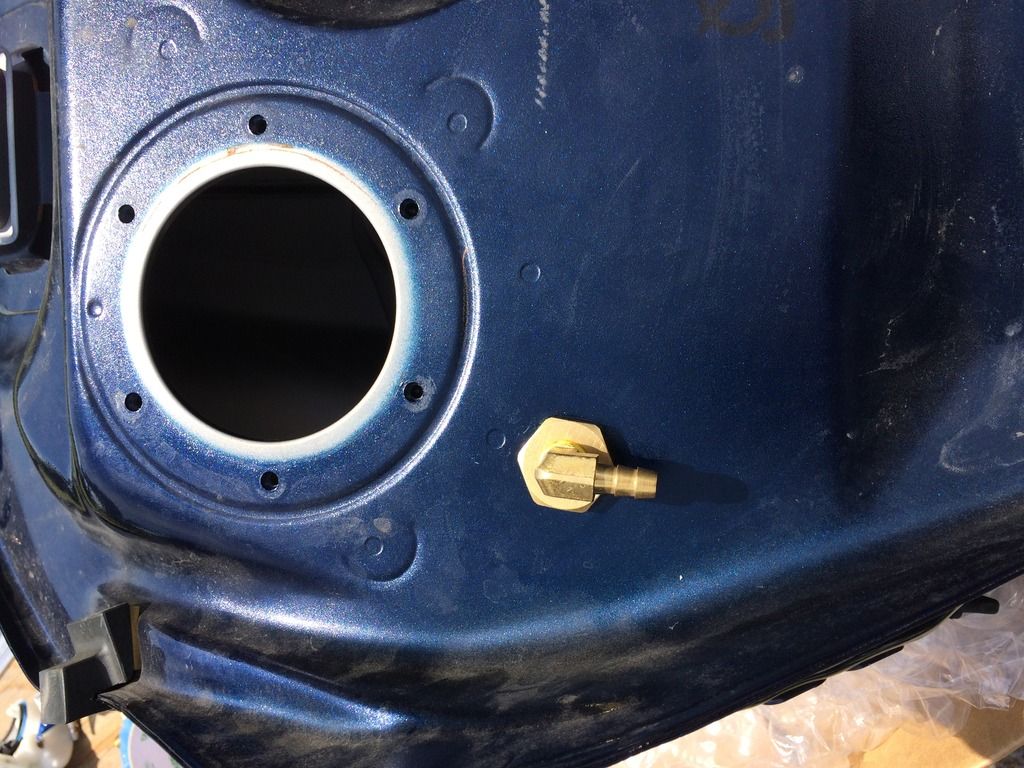
Bulkhead fitting. I chose 5/16" fuel line and fittings for this project
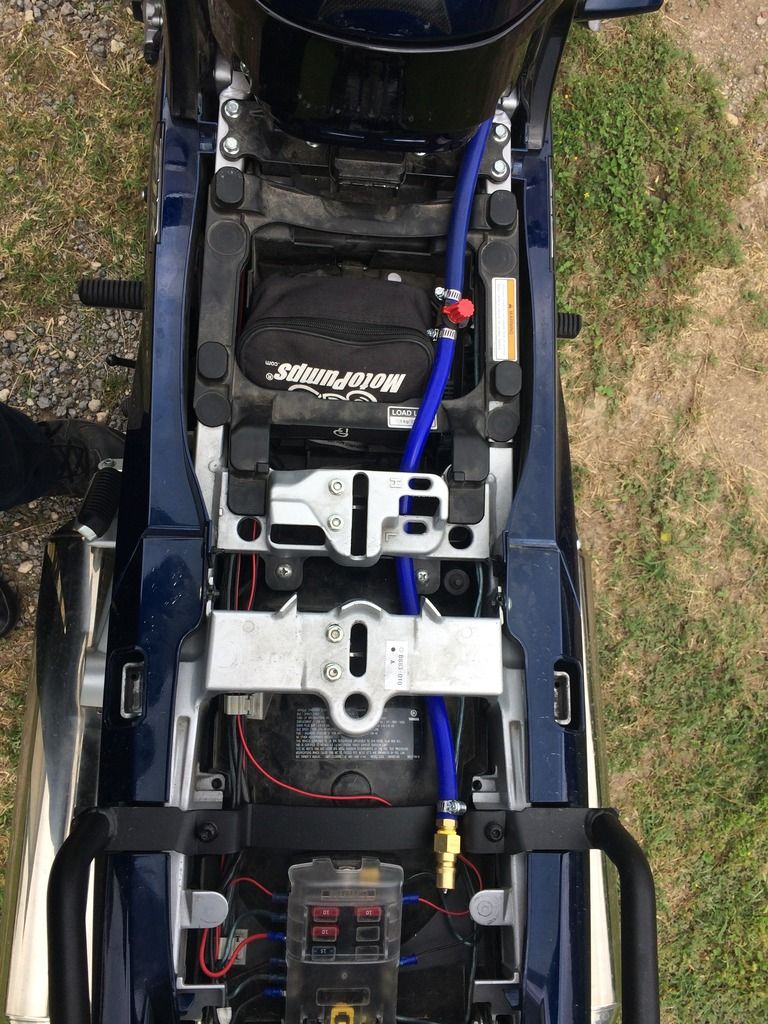
Bulkhead, 90 degree flare fitting, and fuel line installed, and a thorough flushing out with gas to purge the water, tank is now ready to put back on the bike. I chose silicone fuel line because I figured the added flex might come in handy. It ended up being a double edged sword because it also squashes down easier. I wound up running up to the parts house to get some standard rubber fuel line to run under to seats and to the tank because of this.
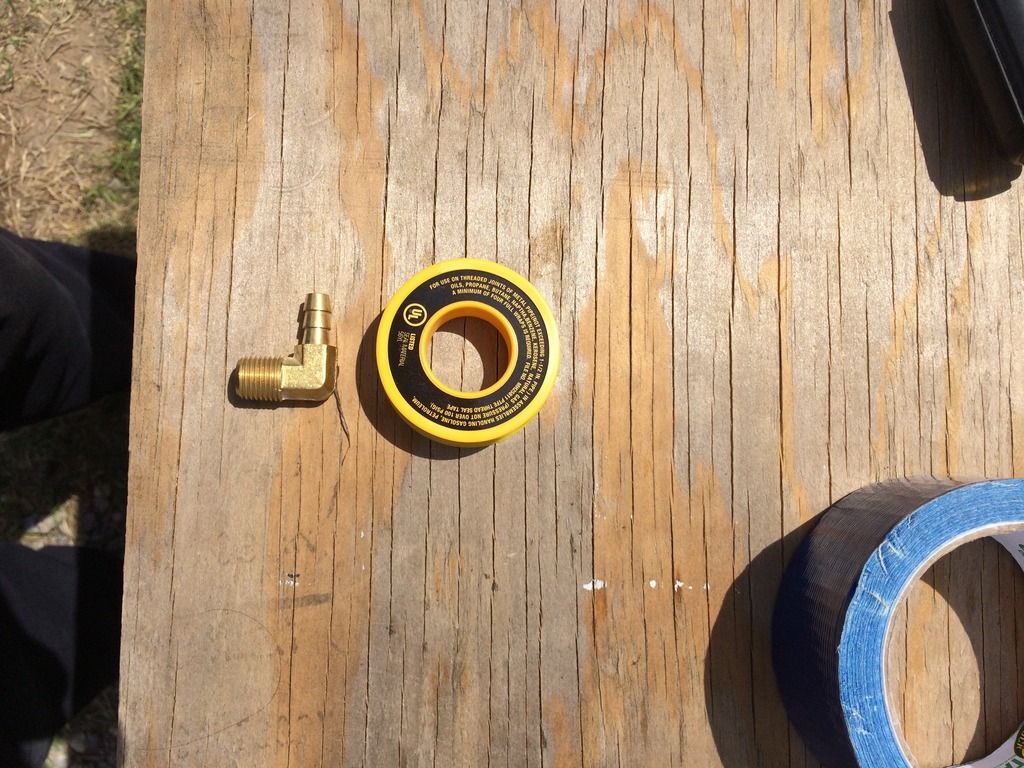
I used this tape on all threaded joints, it is specifically designed for fuel applications,
I was looking for a means to be able to install and remove the tank without a major undertaking. I figured using a seat pan was the easiest way to get the job done. It saved me hours of fabrication time developing a suitable platform. I chose to strip the cover and padding off, but this left recesses underneath.
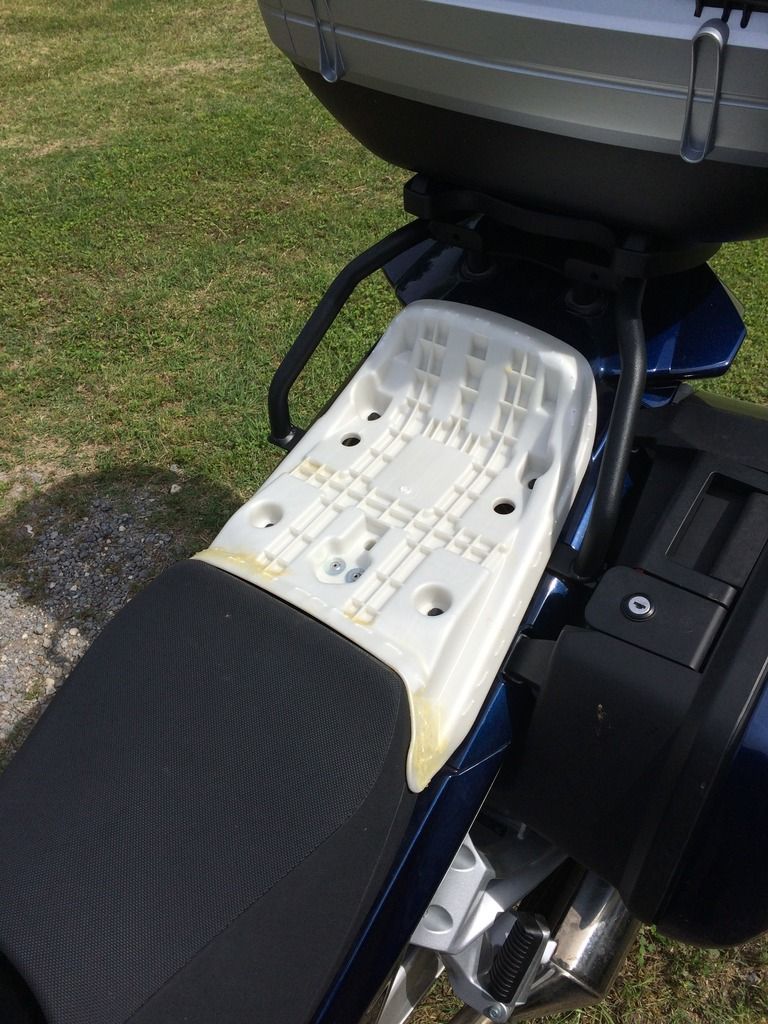
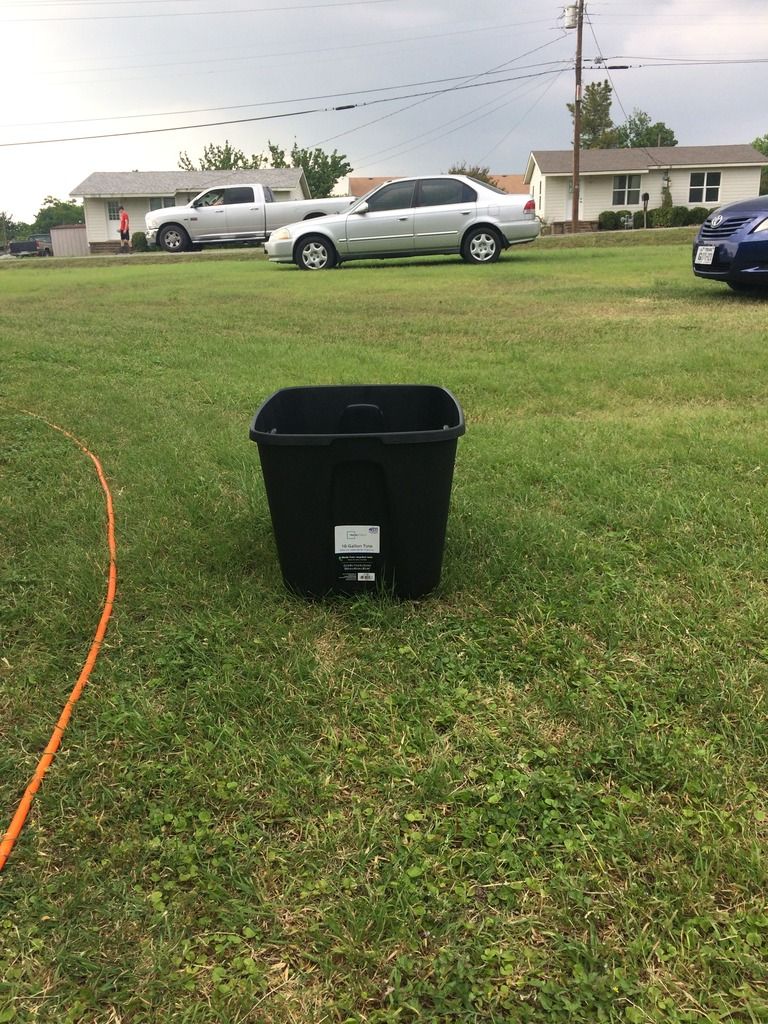
I invested $5 at walmart to cover this up, I cut a section out of the bottom of this tote, then overlayed it onto the seat pan.
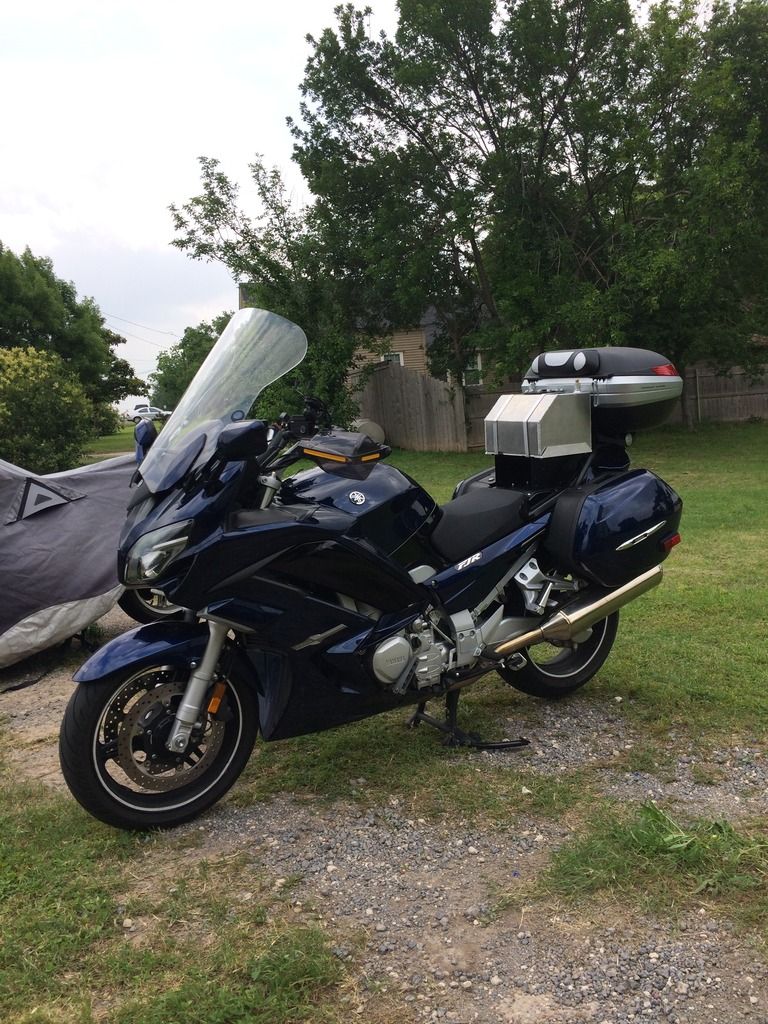
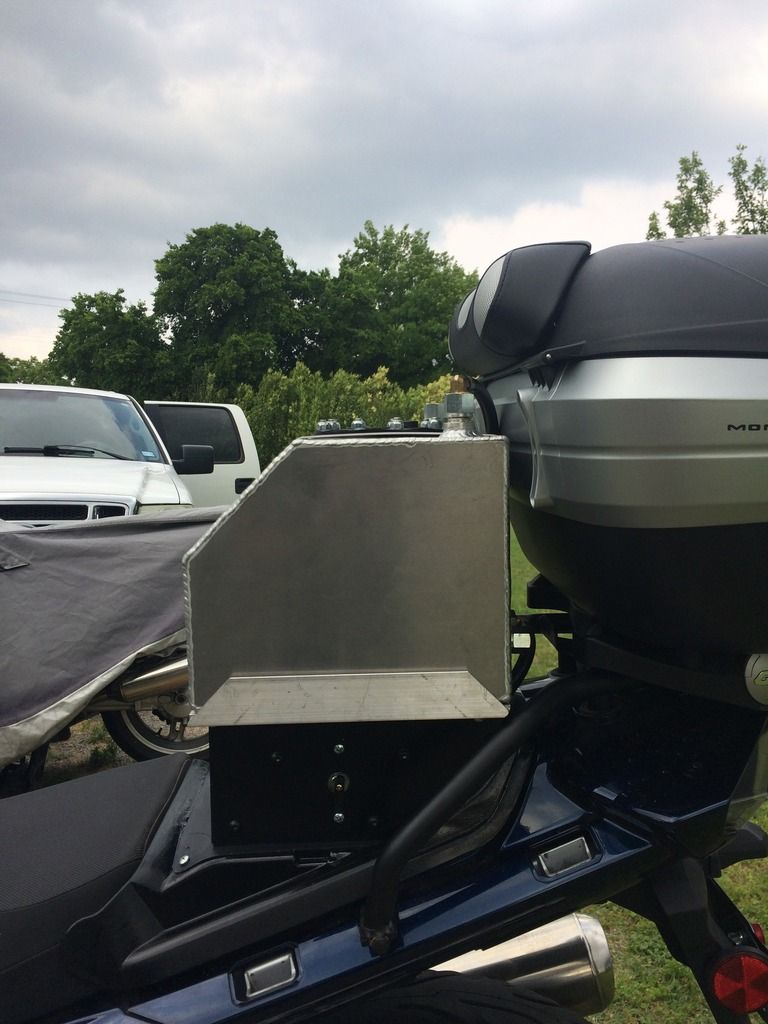
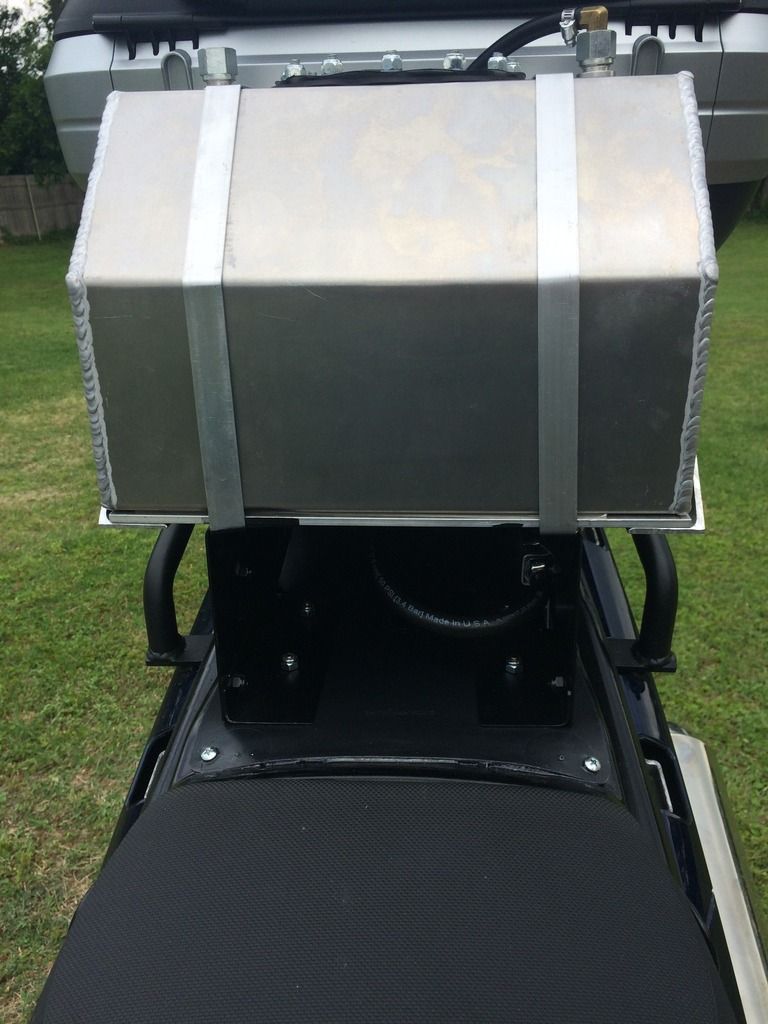
I had some layout challenges because the Givi SR357 support rails angle inward toward the top box making it so that fuel cell wouldn't fit as far back for butt room as I was looking for. In the end, I ran up to the local metal mart and picked up a piece of 6" cee purlin, then cut it down to the 5" I was needing to clear the top of the Givi support bars. I was beginning to be rushed for time, so I wound up not getting as many pics as I'd like of the final fabrication process. Hopefully these pics can tell the story good enough. The tank ended up being raised 5" off of the seat pan due to clearance issues. I was hoping to keep it down for a lower center of gravity, but hopefully 30 lbs net filled won't be that big of a deal, maybe it'll help with the gravity flow. The aluminum angle and bar came from the local Ace hardware, not the supplier of choice for me due to their pricing, but they had it along with all the hardware I needed and it was handy. I had some adhesion promoter for painting plastic left over from painting my son's bike. I used this on the seat pan to prep it for paint. When bolting the purlin brackets to the seat pan, I used doubled up fender washers underneath. With the seat pan and it's release latch, I can remove the tank and put the pillion seat back on in around a minute.
![Image]()
So the hunt for a tank begins. I found a decent deal on a new RCI 4 gallon tank on ebay, they had 5 gallon ones also, but because of the Givi top case back there in the way, I decided that my butt might appreciate the added 2 inches of room on long hauls, and that 4 gallons should be plenty of safety margin in most cases. That buy is where the bargain ended though. I spent a lot more for the fittings, valves, quick disconnect, and various stuff for brackets.
This is the tank I chose. It has 3/8" JIC connections, which I ended up tapping to npt pipe threads because the fittings hug in tighter and are cheaper

I had quite a time looking for the type of bulkhead fitting I wanted to hook up to the main tank with. A forum member mentioned Maple Farkles website, and they had the perfect fitting at a reasonable price.

They also had a quick disconnect that was tried and proven and quality made at a reasonable price. It was a little bulkier than I was looking for, but in the end I'm thinking it'll work out just fine.

I used jic hydraulic caps to seal the -6an ports, then drilled and tapped 1/4" npt in two of them, one for the fuel line, and one on top for the vent.

First step was to empty the tank, I drained as much fuel out as I could, then flushed the tank out with water a few times.

Then comes the scary part, penetrating the tank. I planned to tap the tank and have the line exit under the right rear of the tank and route the fuel line under the seats. In the end, I could've moved the hole a little more rearward to allow more room for the pump's fuel line, but it worked out ok. No going back now.

I used the same trick others have used by taping a spray can lid inside the tank to catch the shavings.

Bulkhead fitting. I chose 5/16" fuel line and fittings for this project

Bulkhead, 90 degree flare fitting, and fuel line installed, and a thorough flushing out with gas to purge the water, tank is now ready to put back on the bike. I chose silicone fuel line because I figured the added flex might come in handy. It ended up being a double edged sword because it also squashes down easier. I wound up running up to the parts house to get some standard rubber fuel line to run under to seats and to the tank because of this.

I used this tape on all threaded joints, it is specifically designed for fuel applications,

I was looking for a means to be able to install and remove the tank without a major undertaking. I figured using a seat pan was the easiest way to get the job done. It saved me hours of fabrication time developing a suitable platform. I chose to strip the cover and padding off, but this left recesses underneath.

I invested $5 at walmart to cover this up, I cut a section out of the bottom of this tote, then overlayed it onto the seat pan.

I had some layout challenges because the Givi SR357 support rails angle inward toward the top box making it so that fuel cell wouldn't fit as far back for butt room as I was looking for. In the end, I ran up to the local metal mart and picked up a piece of 6" cee purlin, then cut it down to the 5" I was needing to clear the top of the Givi support bars. I was beginning to be rushed for time, so I wound up not getting as many pics as I'd like of the final fabrication process. Hopefully these pics can tell the story good enough. The tank ended up being raised 5" off of the seat pan due to clearance issues. I was hoping to keep it down for a lower center of gravity, but hopefully 30 lbs net filled won't be that big of a deal, maybe it'll help with the gravity flow. The aluminum angle and bar came from the local Ace hardware, not the supplier of choice for me due to their pricing, but they had it along with all the hardware I needed and it was handy. I had some adhesion promoter for painting plastic left over from painting my son's bike. I used this on the seat pan to prep it for paint. When bolting the purlin brackets to the seat pan, I used doubled up fender washers underneath. With the seat pan and it's release latch, I can remove the tank and put the pillion seat back on in around a minute.


